
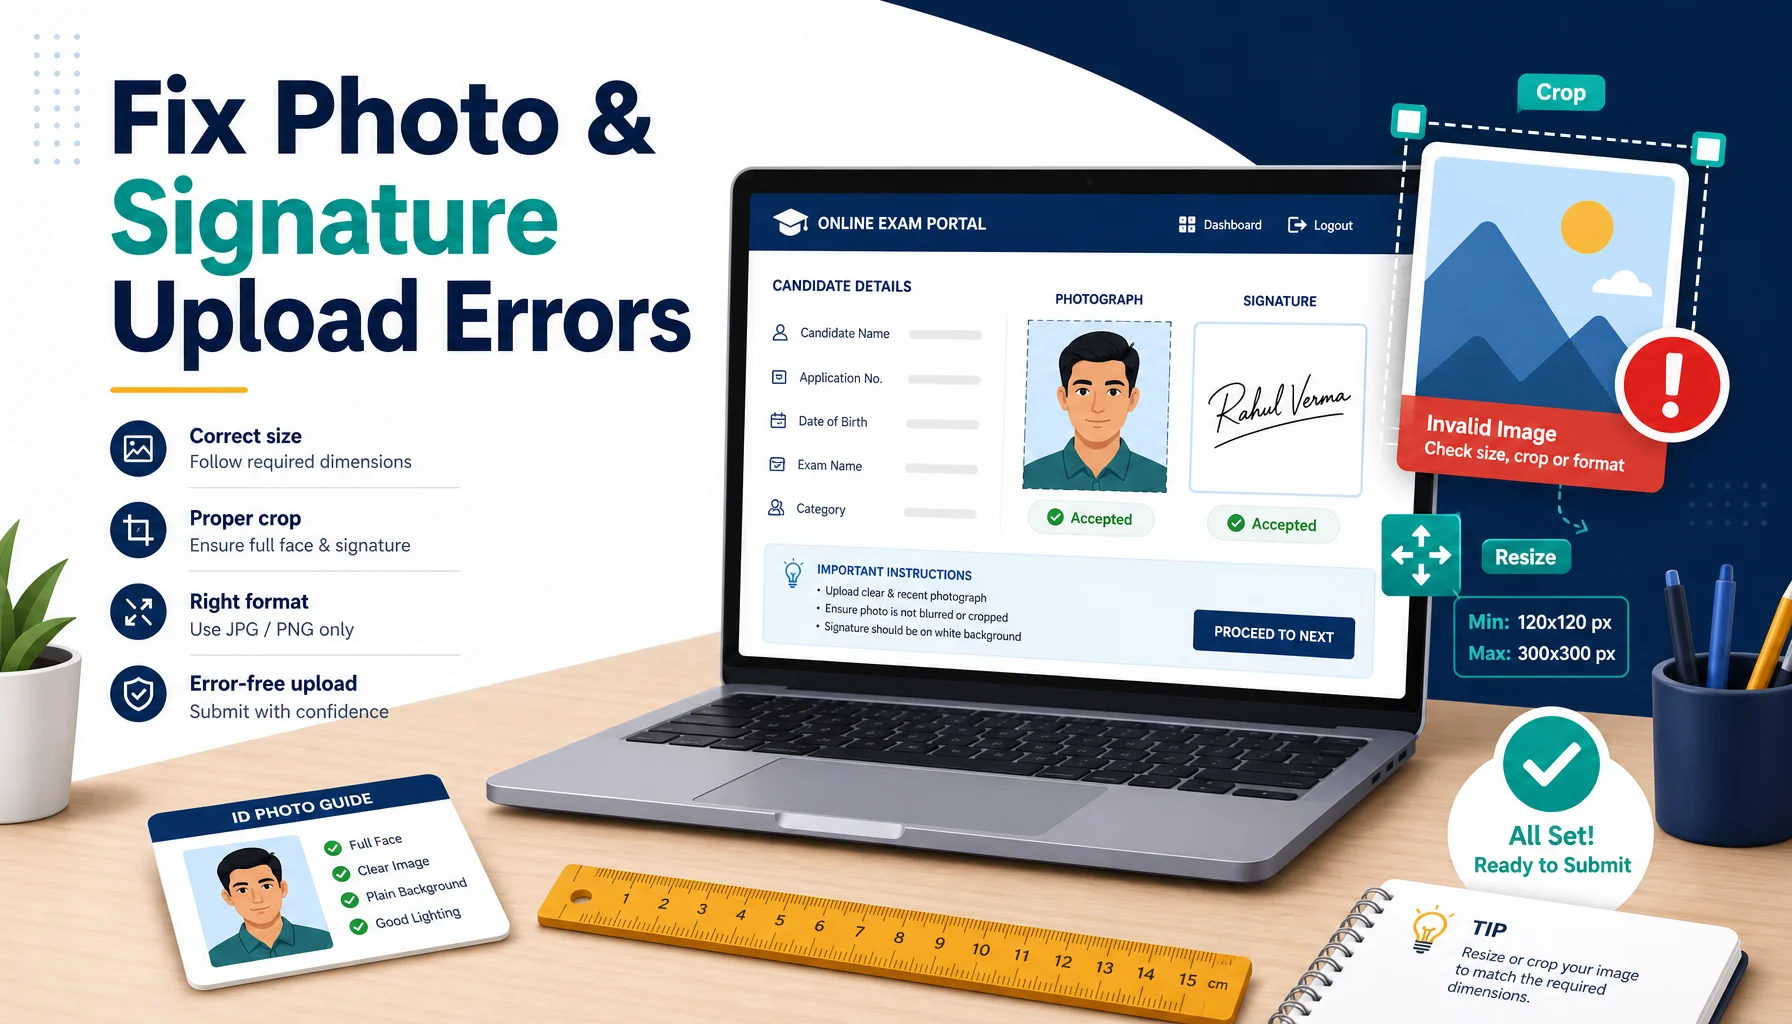
Filling out an online exam form should be the easy part of your application journey. Yet for thousands of aspirants every year, the process grinds to a halt at one frustrating step: uploading a photo and signature. The portal rejects your image, flashes a cryptic error, or simply refuses to accept the file. Suddenly, a five-minute task becomes an hour of stress, especially when the application deadline is looming.ssc chsl
The good news? Almost every photo and signature upload error is caused by a handful of predictable issues—wrong dimensions, oversized files, incorrect formats, or improper cropping. In this troubleshooting guide, we’ll break down these common problems and walk you through practical, step-by-step solutions to resize and crop your images to match exact exam portal specifications.
Why Exam Portals Reject Your Photo and Signature
Government exam portals (SSC, UPSC, IBPS, Railways, state PSCs, and more) enforce strict image guidelines to ensure consistency and prevent fraud. When your upload fails, it’s usually because your file violates one or more of these rules. Understanding the “why” makes fixing the “how” much easier.government jobs
- File size too large or too small: Portals often demand photos between 20 KB and 50 KB, and signatures between 10 KB and 20 KB.
- Incorrect dimensions: A photo might need to be exactly 200 x 230 pixels, while a signature may require 140 x 60 pixels.
- Wrong file format: Most portals accept only JPG or JPEG. PNG, HEIC, or PDF files are frequently rejected.
- Poor aspect ratio: Stretched or squished images fail automated verification checks.
- Low resolution or clarity: Blurry, dark, or grainy images may be flagged.
Common Error Messages Decoded
Before you can fix a problem, you need to know what the portal is actually telling you. Here are the most frequent error messages and what they mean.
“File size exceeds maximum limit”
Your image is too heavy in kilobytes. You’ll need to compress it or reduce its dimensions without changing the visible content.
“Invalid image dimensions”
The height and width don’t match the required pixel values. This calls for precise resizing—not just guessing.
“Unsupported file format”
You uploaded a PNG, HEIC (common on iPhones), or another format. Convert it to JPG/JPEG.
“Please upload a clear signature/photo”
The image is too dark, too light, or has excessive background noise. Re-scan or re-photograph with better lighting.
Step-by-Step: How to Resize Your Photo
Resizing is the process of changing your image’s pixel dimensions and file size to meet the portal’s specifications. Follow these steps carefully.resize image
- Step 1 – Check the official requirements. Note the exact width, height, file size range, and accepted format from the exam notification or upload page.
- Step 2 – Use an image resize tool. An online image resize tool lets you enter precise pixel values (e.g., 200 x 230) and target file size in KB.
- Step 3 – Maintain aspect ratio where needed. If the required dimensions match your photo’s ratio, lock the aspect ratio. If not, crop first, then resize.
- Step 4 – Compress to fit file size. Adjust the quality slider or compression level until the file lands within the allowed KB range.
- Step 5 – Save as JPG. Export the final image in JPEG format and verify the dimensions before uploading.
Step-by-Step: How to Crop Your Signature
Signatures come with their own set of headaches, usually because of excess white space or a signature that’s too small in the frame. A dedicated signature crop or image crop tool solves this quickly.
- Sign on white paper using a black or dark blue pen inside a rectangular box for a clean scan.
- Scan or photograph the signature in good, even lighting to avoid shadows.
- Crop tightly around the signature, leaving only a small, uniform margin so it doesn’t appear lost in white space.
- Resize to the required dimensions (commonly 140 x 60 pixels).
- Compress to fit the file size limit (usually 10–20 KB) and save as JPG.
Pro Tips to Avoid Upload Errors Entirely
A little preparation prevents most last-minute disasters. Keep these best practices in mind whenever you apply for a competitive exam.
- Prepare images in advance. Don’t wait until the deadline. Create and save correctly formatted photo and signature files as soon as the notification is out.
- Keep a master copy. Store a high-resolution original so you can re-crop or re-resize for different exams with different specs.
- Name your files clearly. Use labels like “photo_50kb.jpg” and “sign_20kb.jpg” to avoid confusion during upload.
- Test before final submission. Many portals show a preview—check that your image looks sharp and correctly positioned.
- Avoid over-compression. Squeezing a file too small makes it blurry, which can trigger a clarity rejection.
Handling Special Cases
iPhone HEIC Photos
iPhones save images in HEIC format by default, which most portals reject. Convert them to JPG using an online converter or by changing your camera settings to “Most Compatible.”
Photo with Date or Name Requirements
Some exams (like SSC) require your photo to include your name and the date it was taken, printed at the bottom. Add this text using a simple editor before resizing, and make sure it stays legible after compression.
Dimension vs. File Size Conflict
Sometimes shrinking dimensions still leaves the file too large, or vice versa. The trick is to balance both: reduce dimensions to the required pixels first, then fine-tune compression to hit the KB target.
Conclusion
Photo and signature upload errors are among the most common—yet most avoidable—roadblocks in the exam application process. Once you understand that portals simply want the right dimensions, file size, and format, the fix becomes straightforward. Use a reliable image resize and crop tool, prepare your files ahead of time, and always double-check against the official requirements.
With these troubleshooting steps in hand, you can breeze past the upload stage and focus your energy where it truly matters: preparing for the exam itself. Bookmark your favorite resize and crop tools, keep your master image handy, and you’ll never lose precious minutes to a rejected upload again.

About the Author
amudha_babu
His work encompasses comprehensive coverage of official notifications, eligibility criteria, application procedures, admit cards, examination schedules, answer keys, cut-off marks, and final results. Committed to accuracy, clarity, and timeliness, he ensures that aspirants receive well-researched and reliable information to make informed decisions throughout their preparation and recruitment process. Through his structured and reader-focused writing approach, he aims to serve as a trusted resource for candidates pursuing careers in the public sector.
Leave a Reply